Dahlias, Dahlias, Dahlias: Part II
Dahlias as Cut Flowers: One point to remember when growing dahlias is to pinch out the central stem initially to about 3 leaf sets when the plant is about 12 inches tall. This will produce strong, solid long stems, which without pinching would be hollow, and thus harder for the stem to take up water as a cut flower. The more you cut your dahlias to use as cut flowers, the more flowers they will produce. The dahlia will produce a central stem with two side shoots. You can remove the side shoots from each stem so that the central flower grows larger (participants in judging competitions do this to produce one big beautiful bloom), or leave them as is. For a cutting garden, don’t be afraid to cut deep, just above a set of leaves. Your first central stem cut will be on the shorter side. Go ahead and cut it, and place it in a small vase to enjoy. You will be rewarded with more and longer stems, with each deep cut. I usually cut to a length that I need, for example 12-18 inches, right above a leaf set. By doing this, the plant is triggered to send up another stem at the cut. You can easily cut 2 or more times a week from each plant. Some plants produce a vasefull by themselves! Either cutting the flower stems to bring in the house as cuts, or deadheading spent blooms (literally removing the dead or dying flowers) will signal the dahlias to continue putting out flowers. The vase life of dahlias is usually 5 days, with some varieties lasting as long as 7 days, and even longer. There are various methods of conditioning dahlias to provide the longest vase life. One method is to place the dahlias in a bucket with several inches of hot 150-160 degree water for a hour or until the water cools. Be sure that the flower heads are not exposed to steam from the hot water, as that will certainly kill your dahlia heads. The hot water discolors the several inches of stem that was submerged. You can then recut the stems and arrange them, or allow them to sit overnight in a bucket of water with flower food, and then arrange. This method probably forces any air bubbles out of the stem, so it can take up water. The second method of preparing dahlias is to simply place them in cool water, in a cool place for several hours. Then arrange them in a vase, making a fresh slanted cut so the stem sits up on its tippy toes, and not directly on the vase floor. This will facilitate water uptake. Like all cut flowers, dahlias benefit from being placed in very clean vessels, with flower food, and out of direct sunlight. If you don’t have commercial flower food you can make a similar recipe using a tiny amount of sugar (carbohydrates), bleach (a biocide to keep bacterial counts down), and lemon lime soda ( an acidifier).
Growing Dahlias in Western New York: Our Zone 6a/6b climate precludes leaving dahlia tubers in the ground over winter as you would with perennials, daffodils, or even tulips which can handle our frosts, freezes, snows and thaws. I have been sucessful overwintering them in the high tunnel for several years as the high tunnel creates a Zone 7 climate when a winter frost blanket and straw as a cover is used. The disadvantage of that is that digging them up after several years is near impossible. I have experimented with covering the dahlia tubers left in the field with straw, then a frost blanket, and then plastic covering over that, however it was not sucessful. To insure a supply of tubers for next year, they must be dug, and stored inour climate. So after the first killing frost, cut the stalks down to 6-8 inches, and label each variety. Use a garden marker that does not fade or simply a pencil, as a carpenter’s pencil. Some individuals write the name of the dahlia directly on the tuber after it is dug and divided. However you choose to label, just do it, as you think you will remember the variety, but probably won’t.
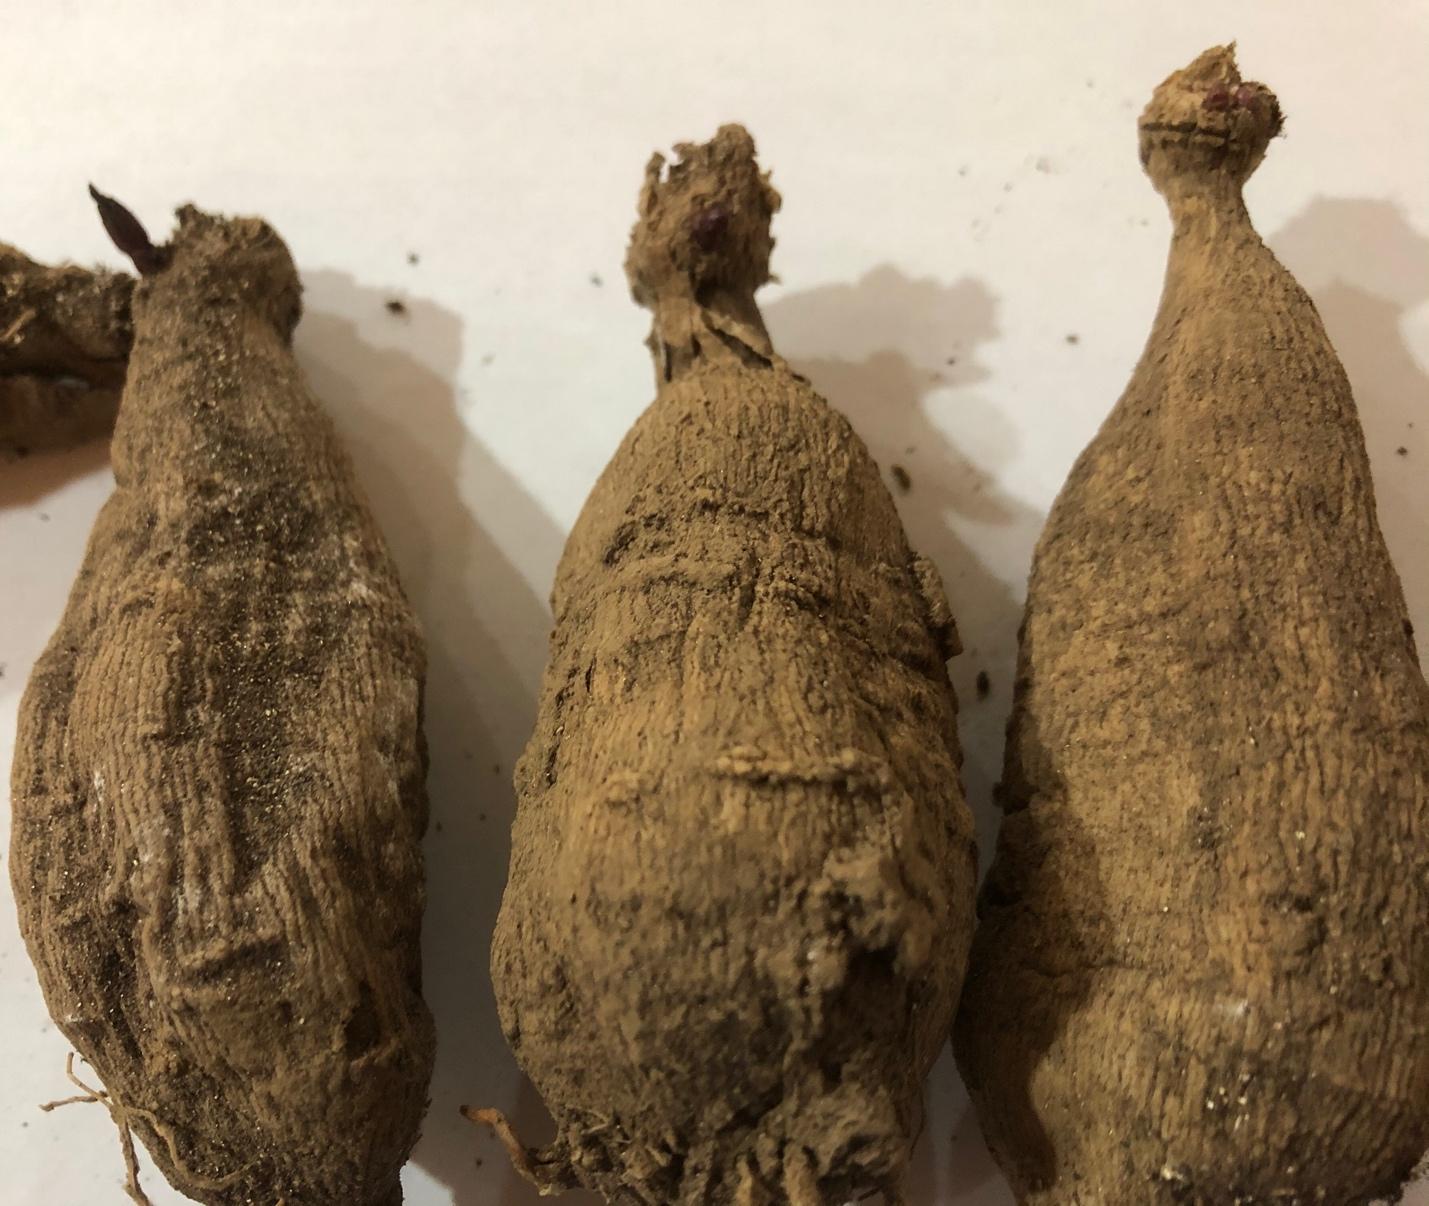
Every dahlia variety is different. Some are generous makers of tubers, and others are not, and best left as a clump of several tubers, rather than individual tubers. Dig up the clump, let it cure a day or two where it will not freeze (ideally about 40-50 degrees as in a basement, or heated garage), and then either store the whole clump or divide the tubers. To make a viable plant, each tuber must have a “growing eye”, like a potato. In the photo above, you can see a growing eye in the tuber on the right, and in the tuber on the left the eye is sprouting. The growing eyes are usually easier to identify in the spring, as in the tubers above. However, due to limited storage space, many divide their tubers in winter, after digging, and drying the clumps. If there has been no killing frost by November, you are safe to go ahead and dig them.
Storage can be in plastic or cardboard boxes, or in old feed bags (as I do). To prevent shriveling over the winter pack them in vermiculite, peat, wood chips, or shredded paper. You can wrap them individually in plastic wrap which allows you to isolate tubers, so if one rots, it doesn’t contaminate all of them. Ideally they will not have shriveled or molded over the winter. If they seem dry, spritzing them with a little water can help. Check them periodically and throw out any obviously soft or moldy tubers. I have to admit, this is the first year I did not take my own advice, and although many are perking up in the warmth of the porch, when I brought them out of storage, I seem to have lost an inordinate number this year. I planted 1200 tubers last year and only manged to dig up about 300 clumps due to weather. The final count is not in, but I remain hopeful.
A note about tuber size: tuber size does not reflect on a plants ability to produce flowers. Some dahlias produce large tubers, others small ones. I am always surprized when a small tuber produces just as vigorous a plant as a larger tuber. However, save tubers that are at least as large as your middle finger or index finger in width. They wll have a much better chance of surviving winter storage than a thinner tuber.
Growing, propagating, and dividing tubers can seem daunting the first year. It is really not difficult at all if you know the facts, and are willing to give it a try. I guarantee you will become addicted to the many, many beautiful available dahlias. In fact, I think there should be a 12 step program for dahlia lovers. You can find many videos on line that review growing, propagating, dividing, and storing dahlias.
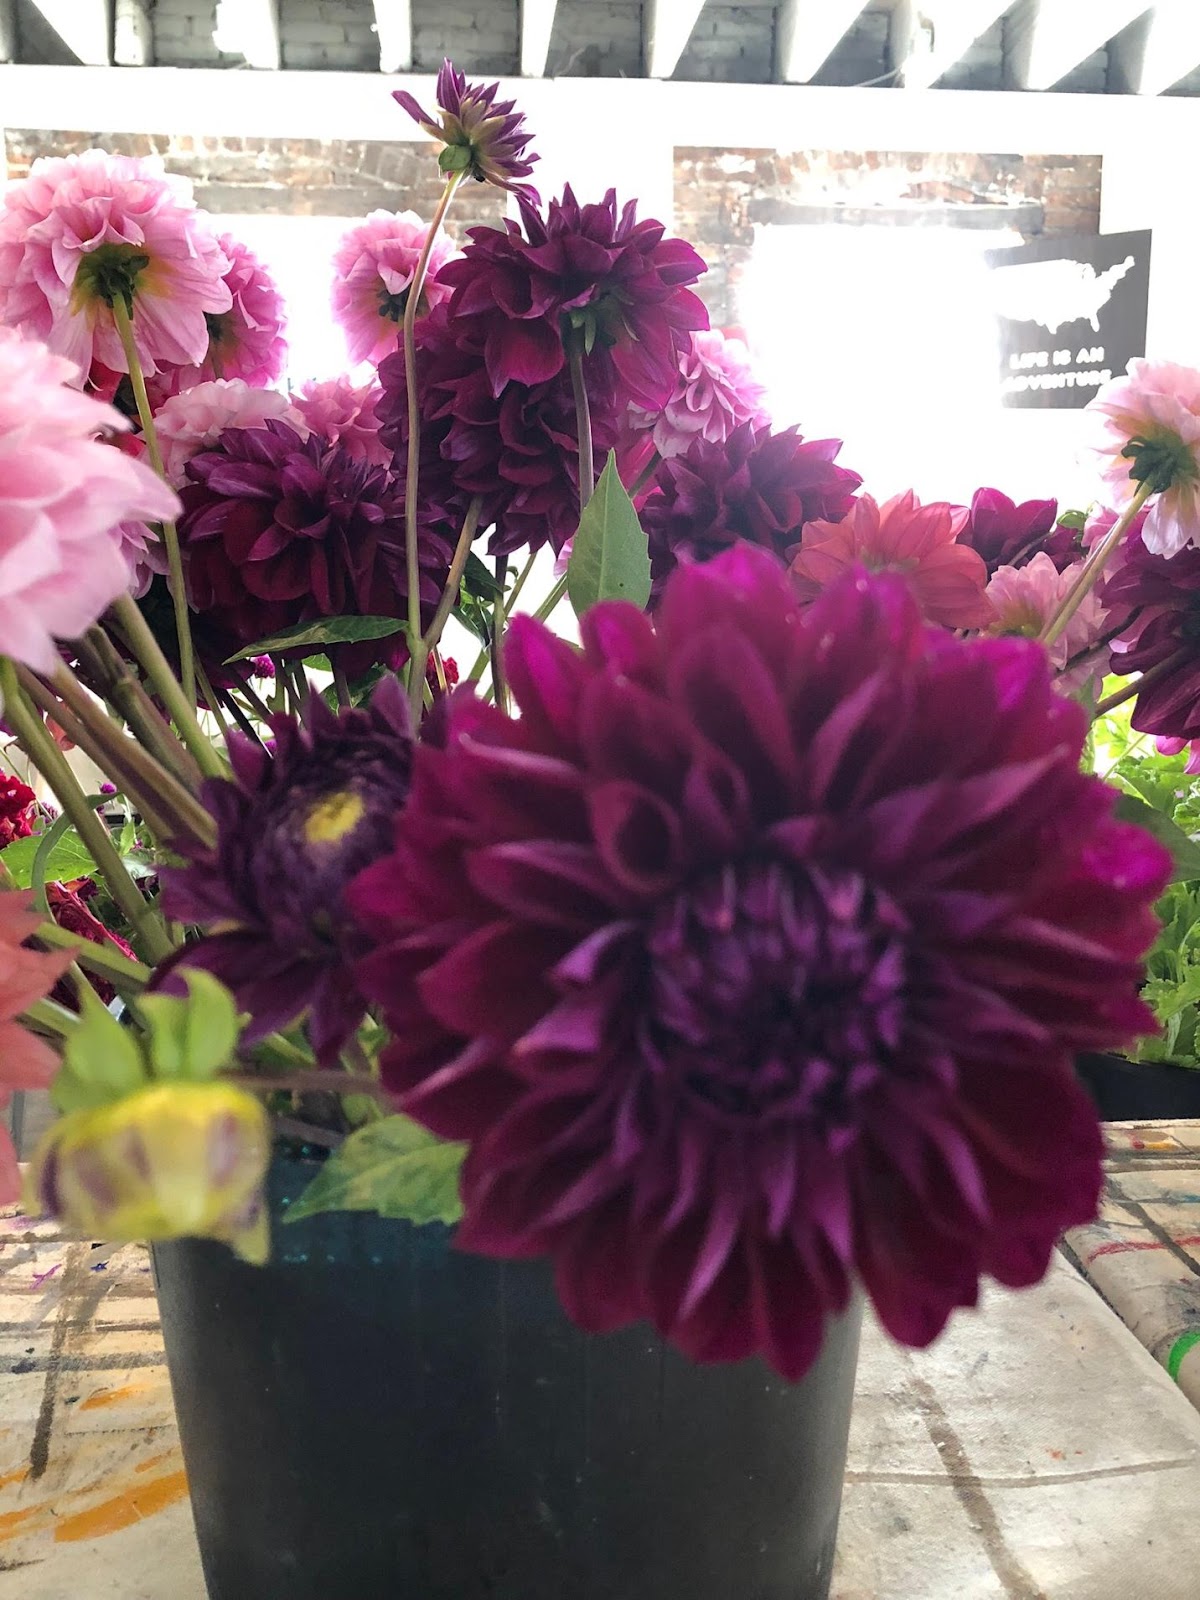
Dahlias shout look at me!
As mentioned before, varieties are almost as numerous, as stars in the sky. Some I have enjoyed growing for cutting include Café au Lait, Oreti Adele, Cornell Bronze, Ivanetti, Black Satin, Diva, American Beauty, Thomas Edison, Blizzard, Boom Boom red and white, Gitts Attention, Fleurel, Rock Run Ashley, Mingus Toni, AC Rose, Peaches and Cream, and others I cannot remember. I prefer the smaller decorative type, and the ball type for cutting, although I am falling in love with the single anemone type. A note about starting Dahlias from seed- it can be done, and Bishops Children is one variety I have grown. It is better suited as a bedding plant, as it produces a shorter plant that does not hold up as a cut flower. I will be growing four different varieties of Karma dahlias this year. Karma’s are grown from tissue culture and therefore cannot be propagated from tubers or cuttings. The benefit, besides not having to dig them up each year, and the vibrant colors, is that they can be cut when ½-2/3 open to prevent insect damage and prolong vase life.
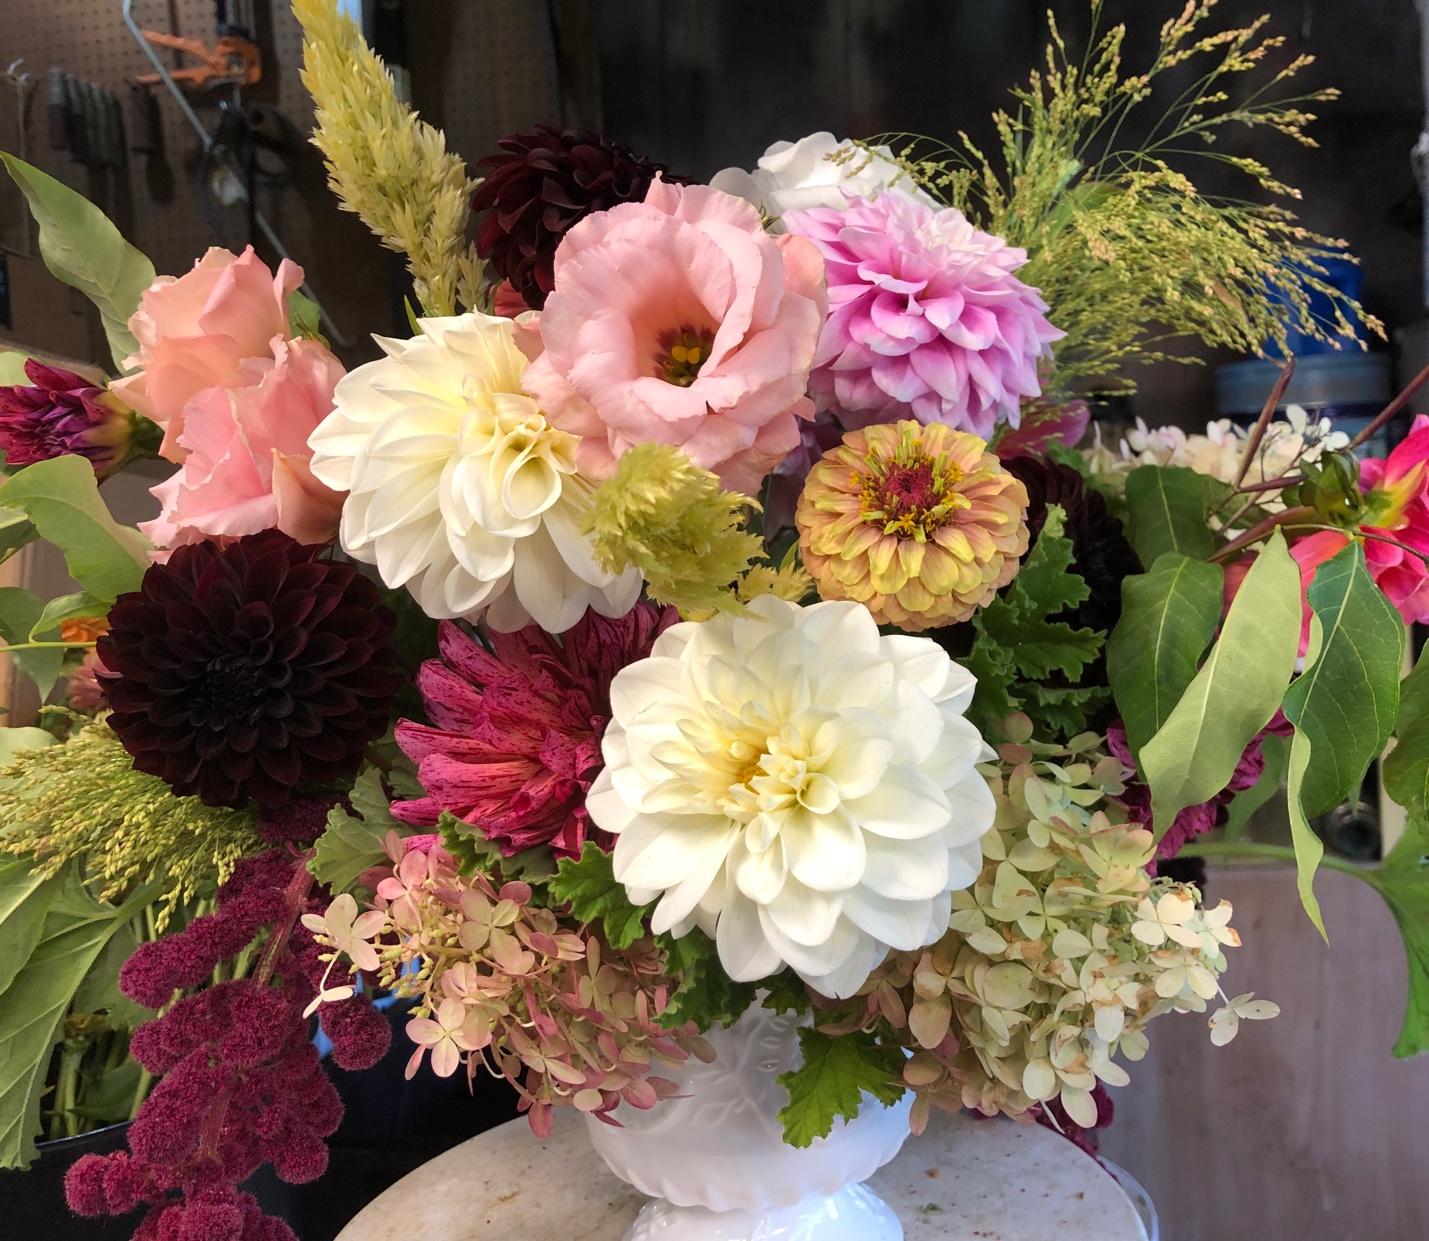
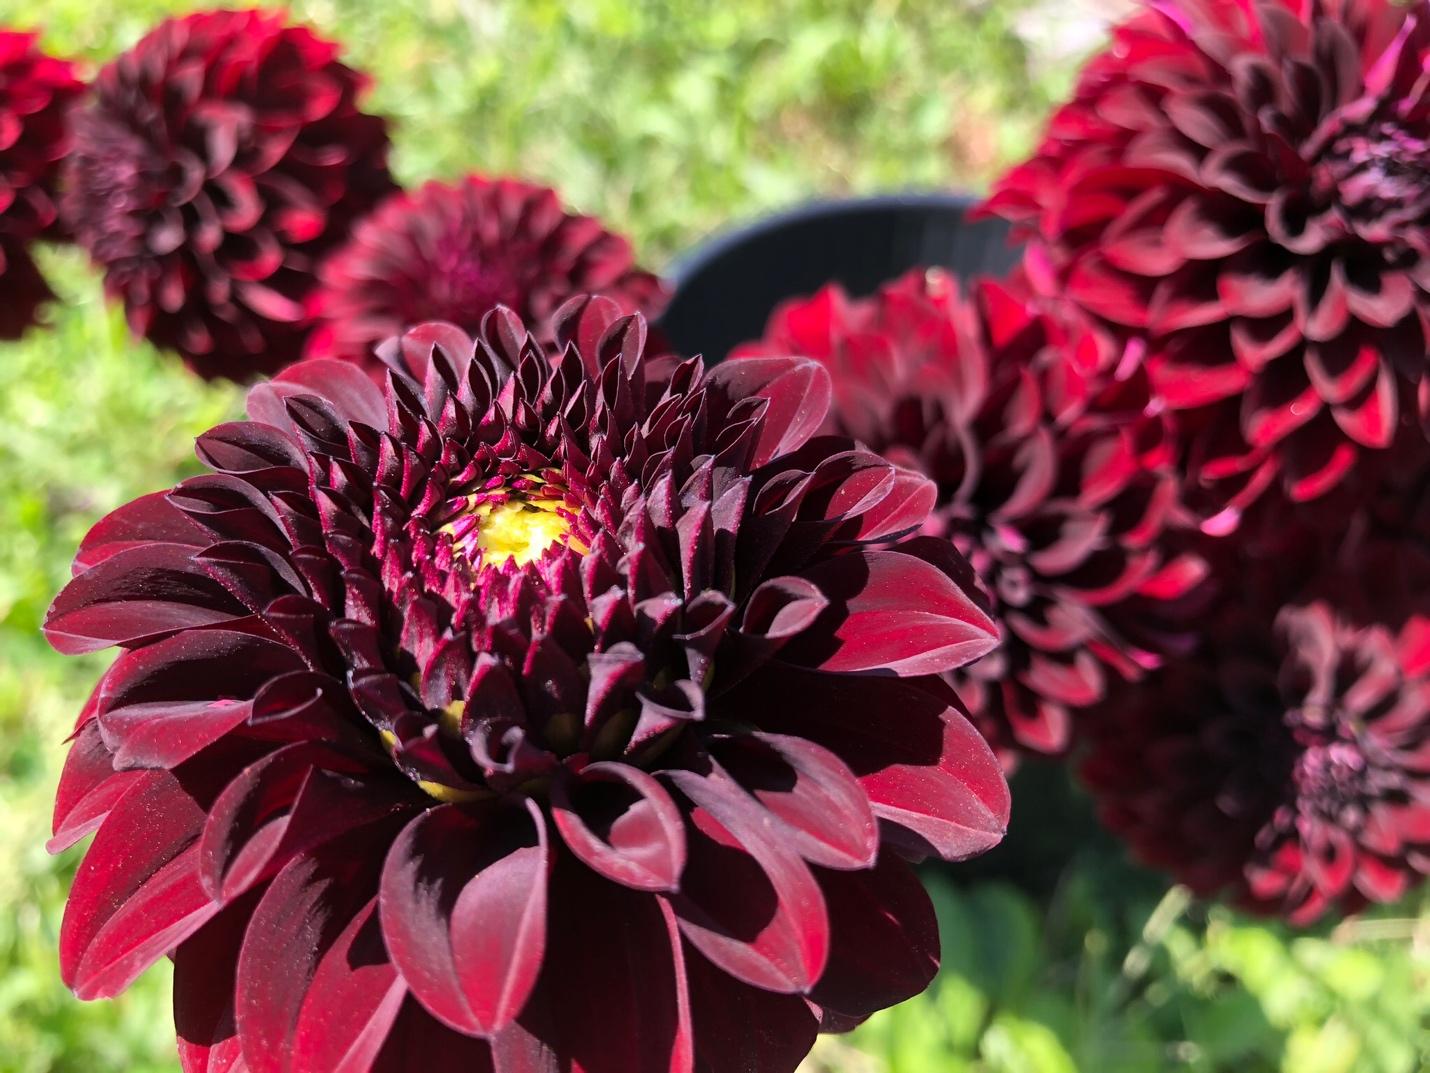
Dahlia ‘Diva’ with others.
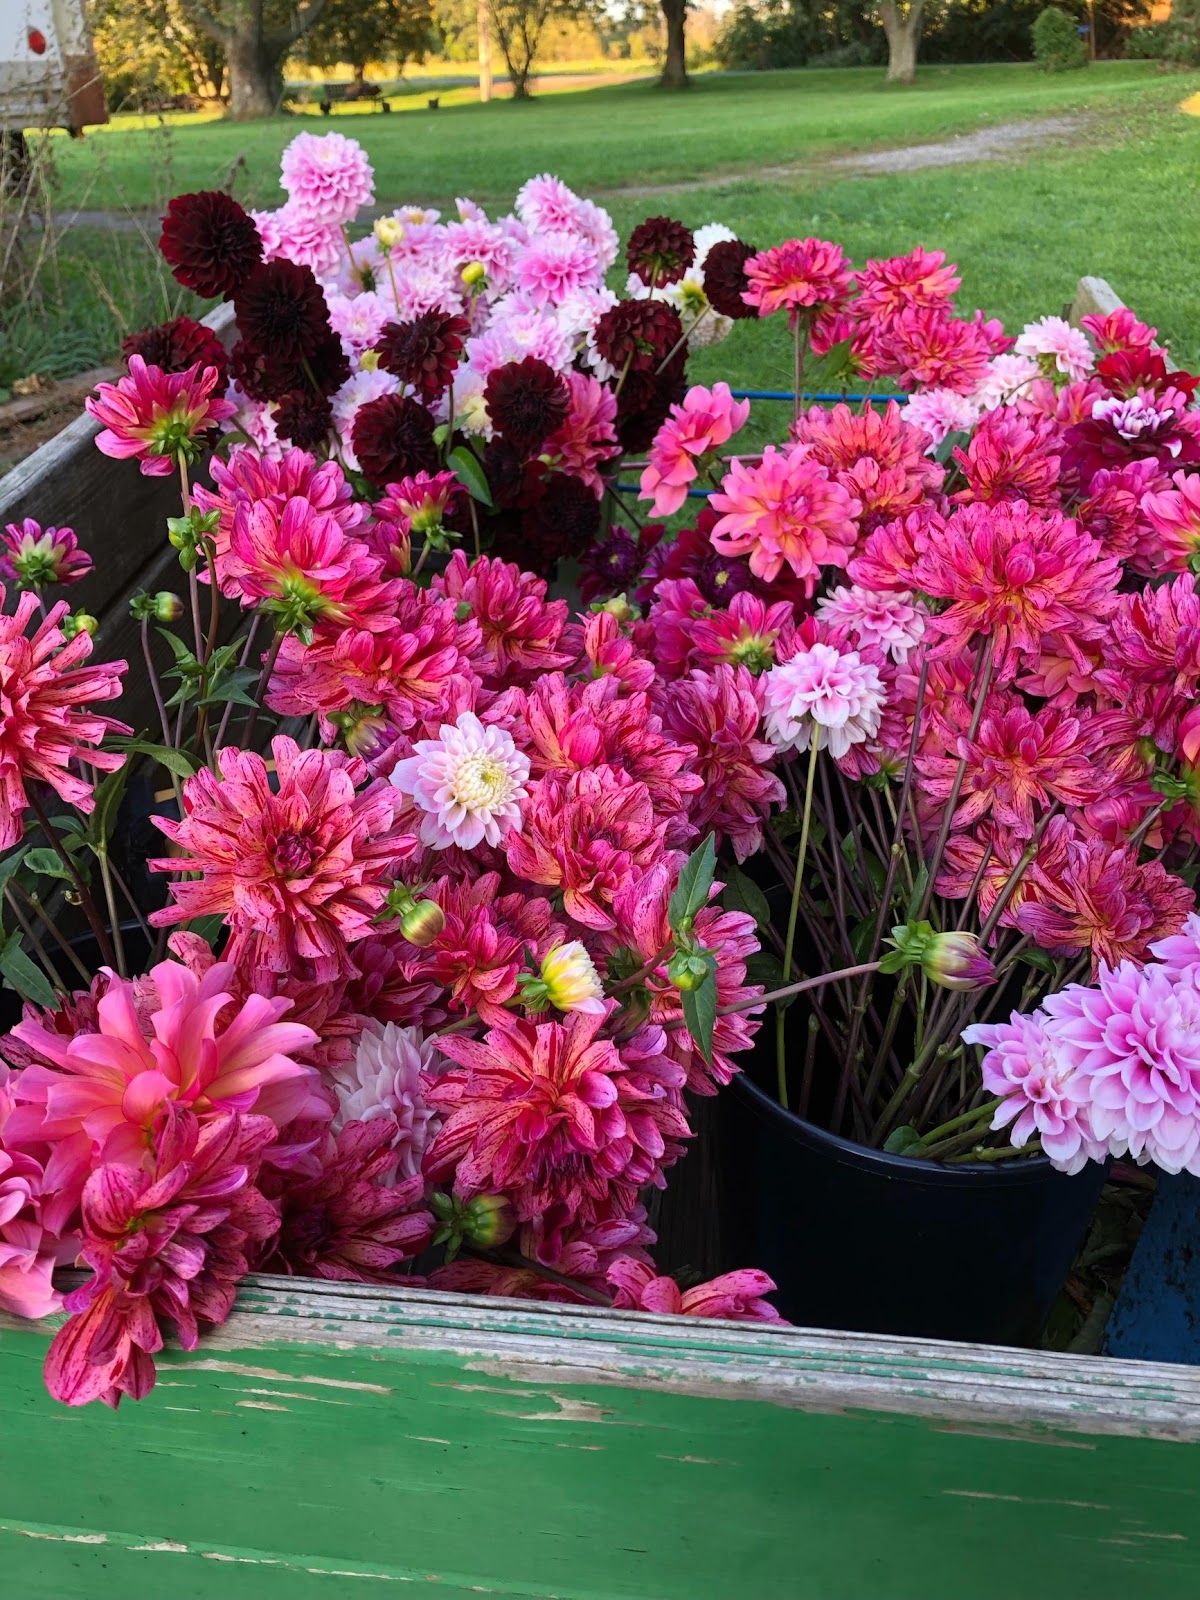
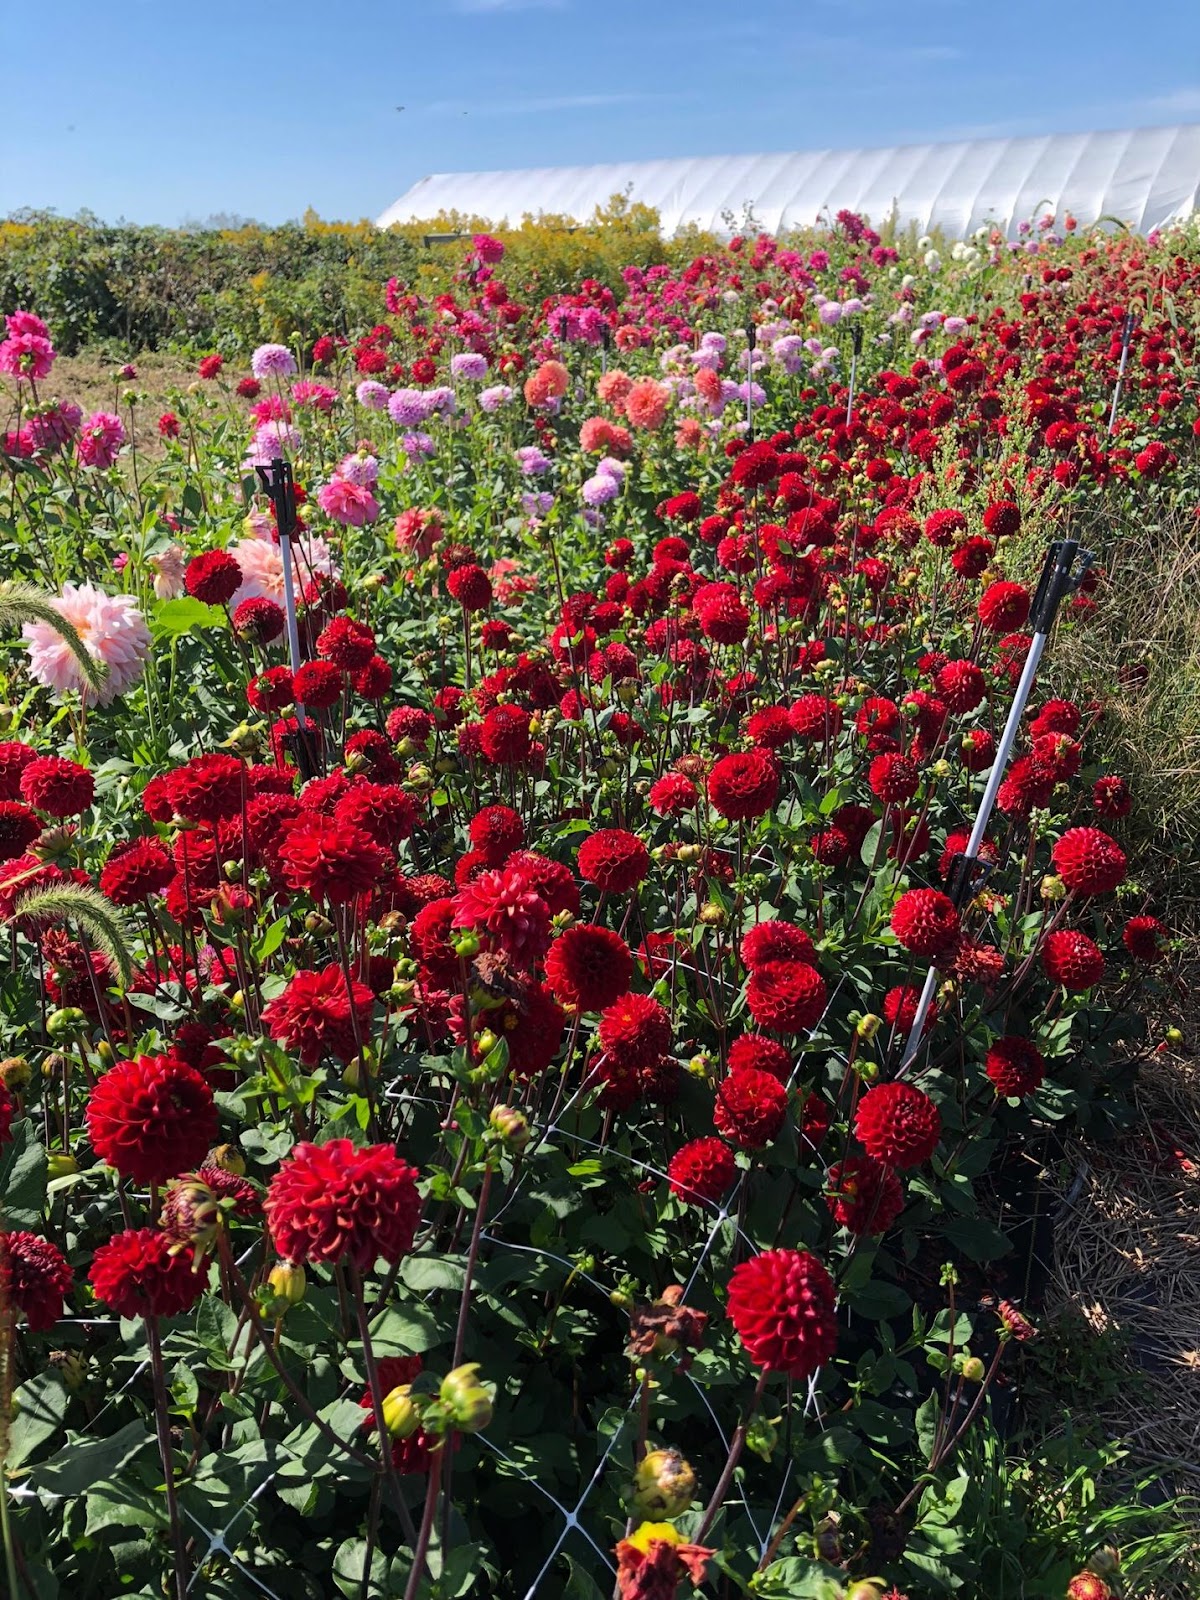
A field of dahlias, including ‘Boom Boom Red’, a small ball type dahlia.
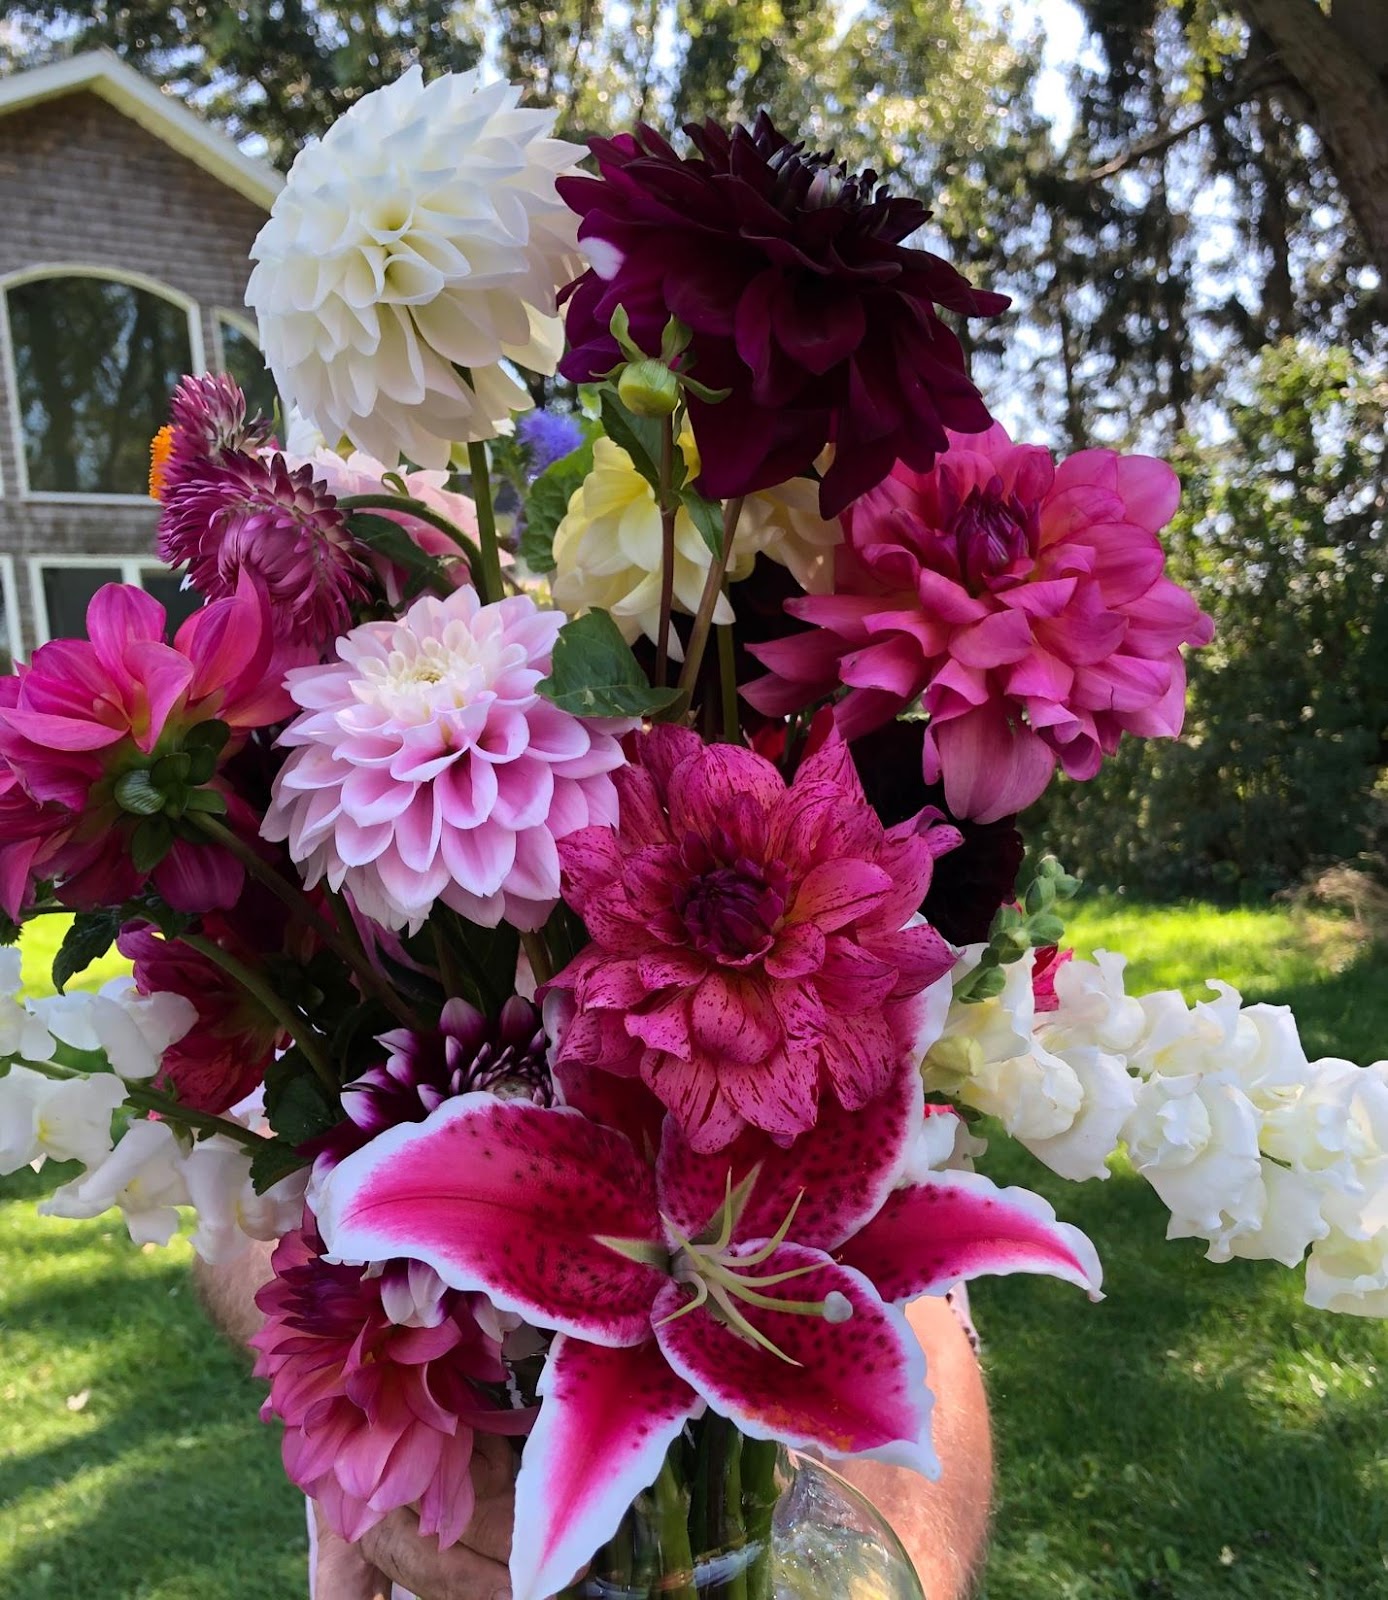
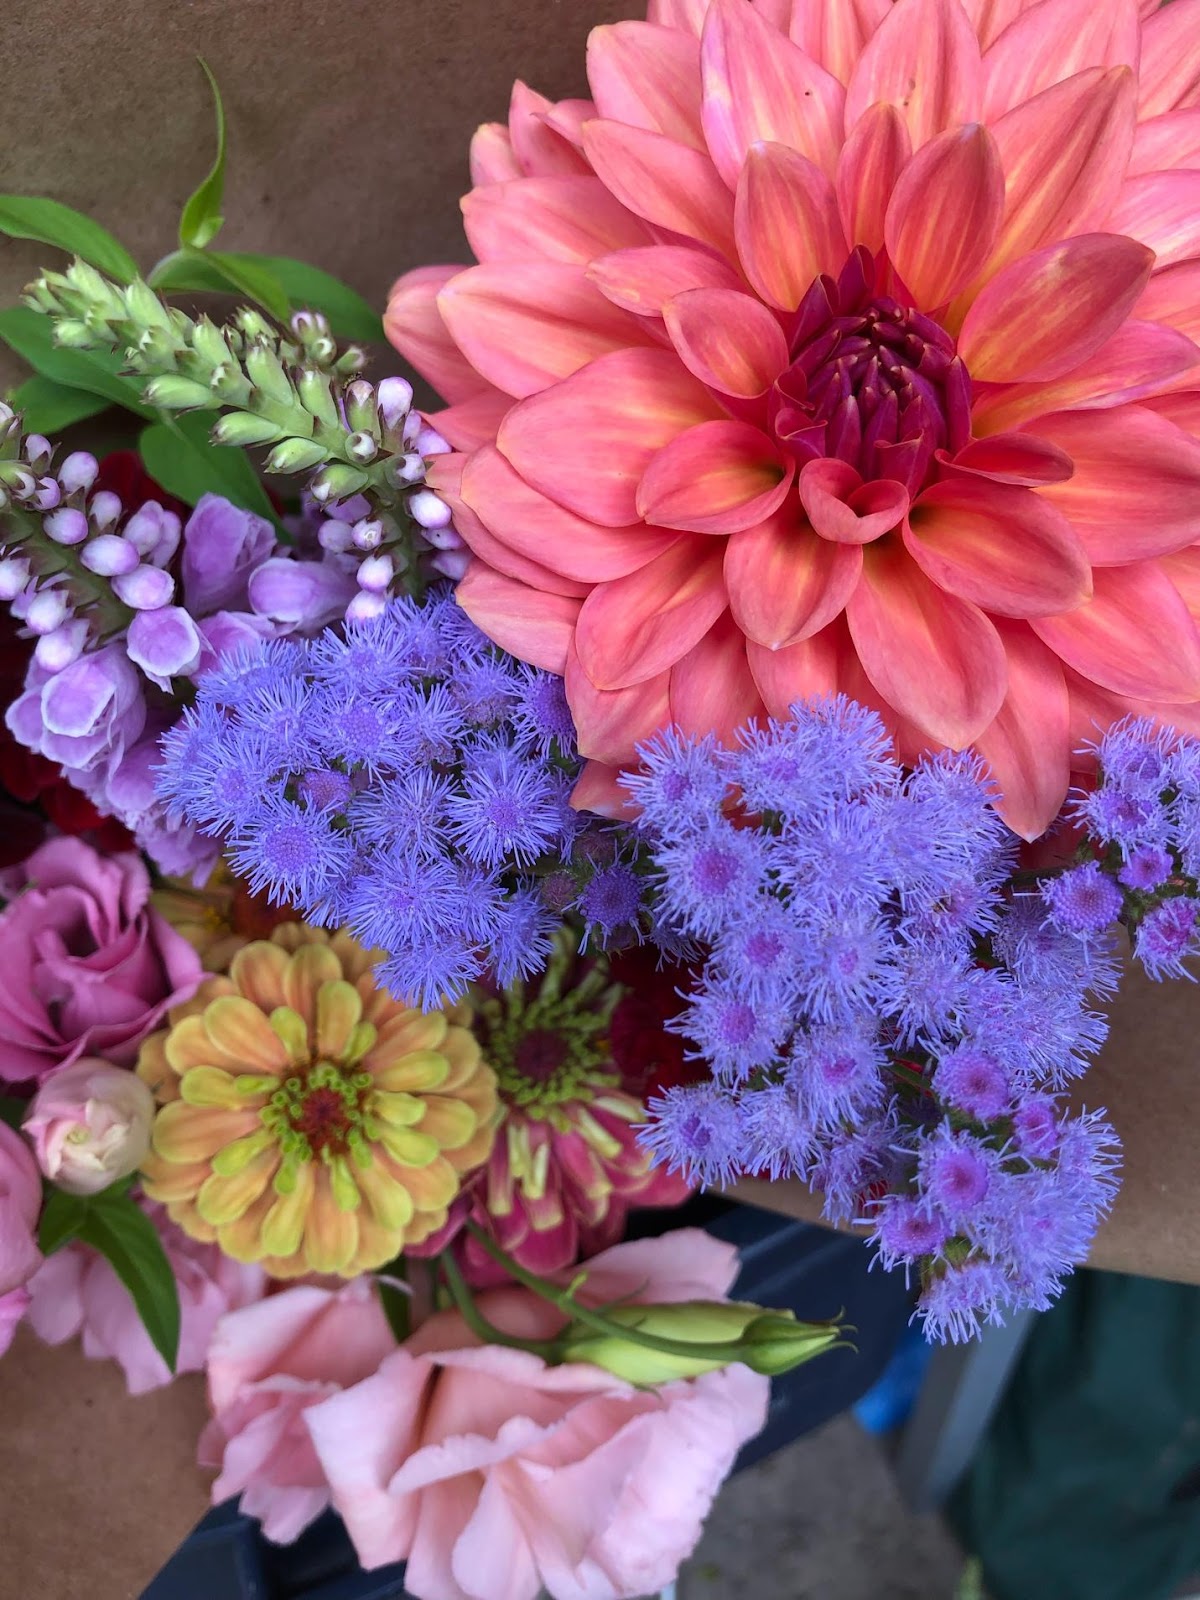
A summer bouquet.
Carrie Kling, Master Gardener
Windy Acres Horticulture, a flower farm growing specialty cut flowers for events, weddings, florists, planners, and the DIYer.
Call 716-628-6007 for more information.